

Uncategorized
Audio Compression 101: How to Use a Compressor for a Better Mix
Audio compression is one of the most important tools in your producer tool kit.
In fact, it is one of the fundamental tasks in mixing any type of music.
Despite that, compression in music production is often misunderstood. With such an important process, it can be hard for beginners to get started.
In this article I’ll go through everything you need to understand the role that audio compression plays in mixing music. I’ll unpack how it works and give you the best tips for learning to use it in your own process.
Let’s get started.
What is compression in music?
Dynamic range compression is a process in music production used to help even out the loud and quiet parts of a sound in a recorded track.
It’s considered an essential task in mixing music alongside equalization and applying audio effects like reverb and delay.
In fact, compression is an essential skill for all music producers that has a huge impact on everything from drums to modern studio vocals.
Hot tip:
Dynamic range compression is completely different from the data compression methods used to make digital files smaller for storage or transmission. If you`re looking for information about this type of compression, head over to our guide audio file formats to get the basics.
Why is audio compression used in mixing?
Compression is used in music to reduce the dynamic range of signals with loud and quiet elements so that both can be heard clearly.
Compression is used in music to reduce the dynamic range of signals with loud and quiet elements so that both can be heard clearly.
Think of the difference between a soft sound like a whispered vocal and the aggressive crack of a snare. To make them both heard on a recording, the mix engineer has to manage the dynamics.
But even within the same sound, quiet details can be easily overshadowed by the loudest moments.
A good way to understand it is to think of the sound of a recorded drum set. The fast onset of sound when the stick hits the drum skin is a clear example of a transient.
It’s the term for the initial burst of energy when a sound starts.
In most sounds, the transient is the loudest moment in the signal. To hear the transients equally with the body of the sound, compression is often necessary.

To go back to the drum example, compression lowers the level of the loud stick hits, and raises the level of each drum’s sustaining tone along with the decay of the sound in the room.
How does audio compression work?
The basic effect of a compressor is to reduce the volume of a signal once it passes a certain level.
A compressor includes several controls to help you control exactly how it behaves:
Threshold
The level where the compressor begins working is called the threshold—you set it with a dB control to determine the parts of the signal the compressor acts on.
Set the threshold high and the compressor will only reduce the gain of the most aggressive transients
Set the threshold lower and it compresses more of the signal.
Ratio
The ratio control determines how much the compressor reduces the gain once the signal passes the threshold.
Ratio is written as a comparison with the unaffected signal. The higher the first number in the ratio, the more intense the compression.
The higher the first number in the ratio, the more intense the compression.
If that sounds confusing, it might be easier to see with an infographic. Here’s a visual comparison of how the level changes with different audio compression ratios.

Hot tip:
A compressor with an extremely aggressive ratio is called a limiter, since it doesn`t let any signal pass the threshold. If you can`t compare the compressed signal to the uncompressed signal, the ratio is actually ∞:1!
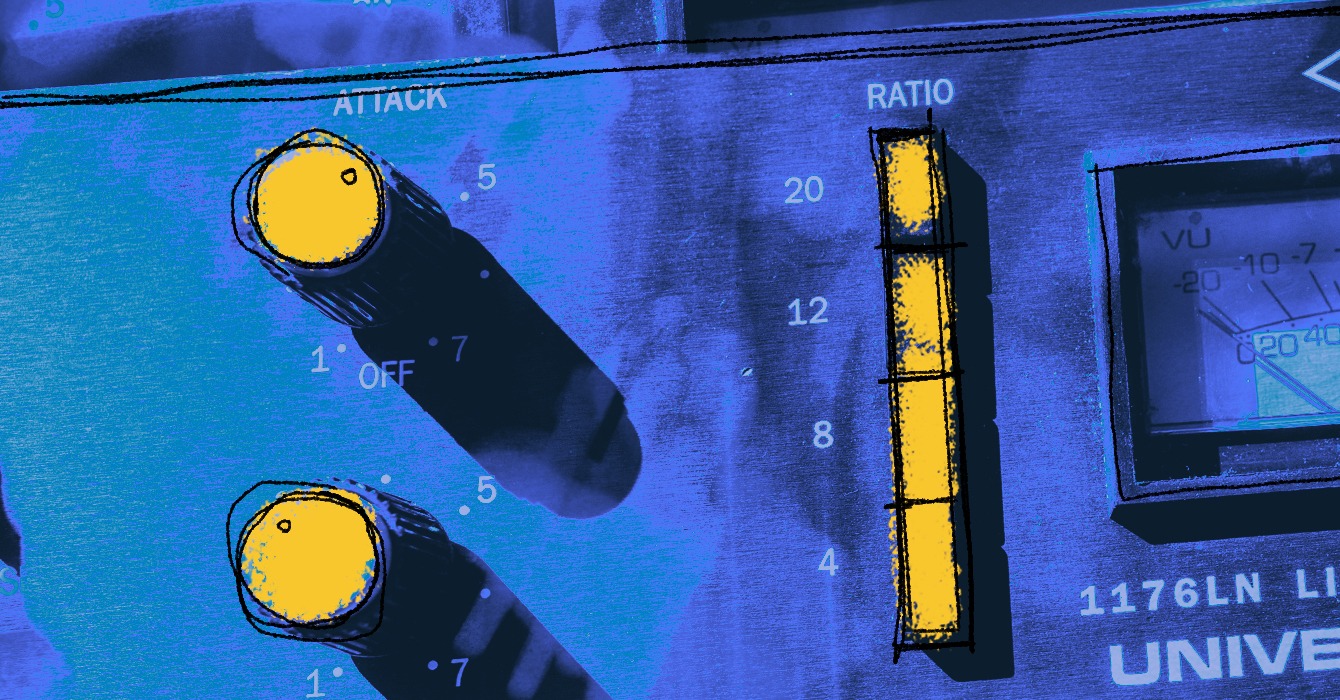
Attack and release
Attack and release determine the timing of the compressor’s action. These are the key controls for making your compression sound musical and pleasing.
How should the gain reduction behave once the compressor starts acting on the signal? Should it kick in immediately or come on more slowly? Should it stop all at once or gradually let go?
Here’s some basic tips if you’re not used to thinking about your sounds this way:
- A fast attack setting is good for controlling aggressive transients like those of a picked bass guitar
- A slow attack time will let some of the sound’s transient through to keep some punch and dynamics—this is often helpful for drums and samples
- A fast release can help create a sense of pressure and rhythmic action to the sound
- A slow release can make the compressor’s action seem less pronounced and more subtle

These are very general guidelines so make sure to listen carefully and develop your own intuition for compressor attack and release.
How to use a compressor properly
Using a compressor can be difficult when you first start mixing.
Unlike audio effects like EQ or reverb, the effect of compression on your sound isn’t always obvious.
In fact, it can be so confusing that I wrote a whole guide on just how to hear compression itself.
That said, the best way to be effective with compression is to understand it well and have a clear goal when you apply it.
Here are some questions you can ask yourself to help make good decisions with compression:
1. Do I need it?
Many sounds you work with won’t have much dynamic range to start with.
In these cases, audio compression isn’t necessary and can even have a negative effect.
I’m talking about sustained tones like synth pads, distorted guitar or other naturally compressed sounds.
Save your compressor plugins for more dynamic sources.
2. What parts of the sound get louder or quieter?
As you increase the intensity of the compression, listen for which aspects of the signal come out.
As you increase the intensity of the compression, listen for which aspects of the signal come out.
Are you revealing more of the details or burying the important parts?
Getting a feel for it takes time, but try to focus on the parts of the sound you want to bring forward as you apply compression.
3. Does it help the music?
This one seems pretty vague, but hear me out.
Good compression should enhance the basic musical qualities of the song.
If you’re using it on drums, it should make the groove heavier. If you’re using it on vocals it should compliment the singer’s voice.
This also takes some experience to get a feel for, just keep an ear out in case you’re doing more harm than good!
Hot tip:
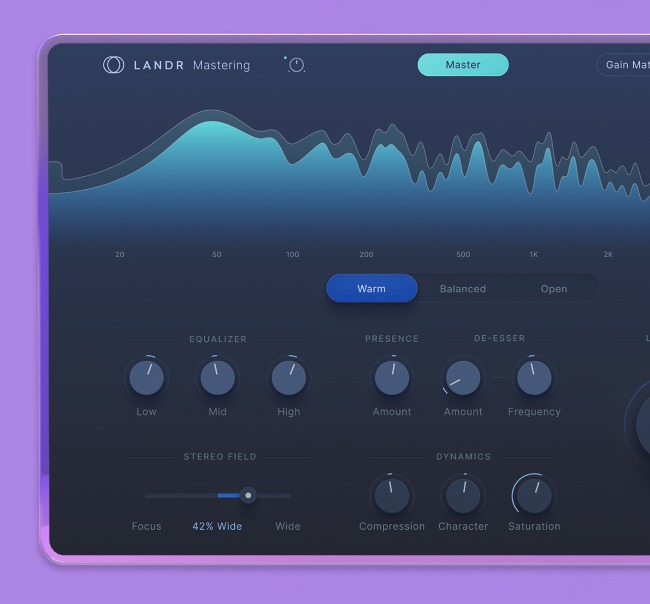
Looking for a flexible compressor plugin with quality sound that`s easy to learn? Klevgrand Korvpressor is a versatile option for any sound source with a unique UI for visualizing the compression effect. Korvpressor now comes bundled in yearly subscriptions to LANDR Studio, along with producer essentials like mastering and distribution.
Common compressor mistakes
On that note, I’ll quickly cover a few ways that beginner and intermediate producers can go wrong with compression.
Watch out for these as you get used to compressing the sounds in your mix.

Attack too fast on drums
When you first get your hands on a cool compressor plugin it can be tempting to hear it clamp down as aggressively as possible.
This can be a real problem on drums in the context of a mix.
When the attack is too fast, the transients will be pushed down too far into the body of the drum to pierce through a dense track.
This can cause your drums to disappear and make your mix sound flat and lifeless.
Threshold too low
You might think that cranking the threshold down will increase the intensity of the compression effect.
In a way it will, but it’s slightly more complicated than that when it comes to dynamics. Hearing the compressor’s release is a big part of the character it brings to a sound.
If the threshold is set so low that the compressor never releases, you’re not really hearing what it can do!
In many cases, musical compression means you’ll see the gain reduction needle jumping and bouncing along in time with the beat.
Hot tip
A faster release setting can intensify the ‘pumping’ sound that’s sometimes associated with heavy compression—especially on drums
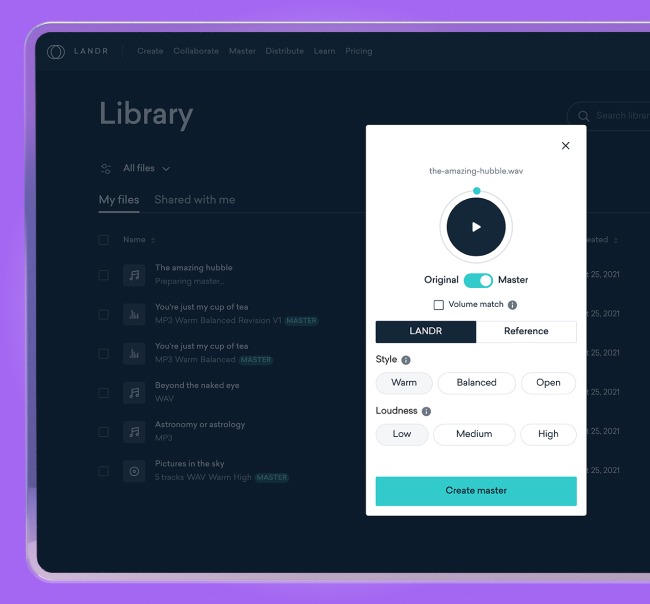
Our powerful, AI-driven mastering engine listens to your song and delivers pristine, studio-quality music that’s ready for release. Master a track.
Audio compression instead of levelling
This also might sound counterintuitive, but sometimes a compressor can’t control very large swings of dynamic range in an uneven performance.
This can be particularly clear when mixing vocals, especially if there are quieter passages alongside yelled or belted parts.
In these situations you shouldn’t expect a single compressor to provide enough transparent gain reduction to even out the entire performance.
In fact, if one segment causes your compressor to work dramatically harder, you should consider using automation or clip gain to control the level that feeds into it.
Compression techniques
With the basics out of the way, I’ll cover a few common compression techniques that engineers use in specific situations.
Serial compression
As I mentioned above, a single compressor is often not enough to control a truly dynamic signal.
In fact, engineers often use multiple compressor plugins in series to manage different dynamic qualities of key sources like vocals.
For example, a vocal performance that contains both punchy, short syllables and sustained notes presents a challenge.
To keep the transients in check you’ll need fast, short compression with a high ratio. But you’ll need to set the threshold high enough that loud sounds don’t become overcompressed.
That means the compressor won’t act on the gentler, sustained tones below the set threshold.
Even so, this part of the performance may also need dynamics control.
In this case, a second compressor inserted after the first can be set differently to manage this.
This technique is called serial compression and it’s a hallmark of vocal production in many genres.
Try a slower, gentler compressor after a faster, more aggressive one to get even more control over your vocals.
Parallel compression
Parallel compression is another style developed for a specific purpose in mixing.
You may encounter situations where you need an intense squashing compression effect for the sound you’re shooting for, without completely choking the natural transients in the original sound.
It’s especially common when mixing drums in order to achieve a balance between punch and sustain.
The solution is parallel compression.

Parallel compression on drums explained.
In this setup the compressed signal is blended with the original uncompressed sound until some of the original punchy transients return.
Some compressor plugins come with a built-in mix knob for easier parallel blending. But if you set up your compression in parallel using an aux send and return you can accomplish the same thing with any compressor plugin.
Check out our deep dive on parallel compression to learn more.
Sidechain compression
Finally, you may have heard of sidechain compression if you produce electronic music.
It’s the technique responsible for the ducking bass drum sound that became inescapable in the early 2000s.
Luckily, it’s actually one of the easiest studio compression techniques to set up in your DAW.
All you need to do is change the compessor’s sidechain input.
Create a send from the track you’d like to trigger the ducking.
Then insert a compressor on the track you’d like to duck and change its sidechain input to the send from the source track.
Now the compressor will respond to the audio from the send track rather than one it’s inserted on.
If you need the full guide to sidechaining, head over to our guide to learn more.
The perfect squash
Once you get your head around compression you’ll be addicted to its satisfying effect.
Before long you’ll find yourself searching for the best compressor plugins to define your signature squash.
But to get there you’ll need a firm grasp on the fundamentals.
Now that you have the basics covered, get back to your DAW and experiment with compression.

Michael Hahn is an engineer and producer at Autoland and member of the swirling indie rock trio Slight.
@Michael HahnGear guides, tips, tutorials, inspiration and more—delivered weekly.
Keep up with the LANDR Blog.