Uncategorized
Pre-Mastering Guide: 5 Tips for Better Pre-Masters
Mastering is the last step in the music production process.
When you export your final mix from your DAW, you’re creating a pre-master file to send along to a mastering engineer or instant mastering engine.
But what does pre-mastering mean exactly? And what do you have to do to get it right?
In this article I’ll explain everything you need to know about pre-mastering.
Let’s get started.
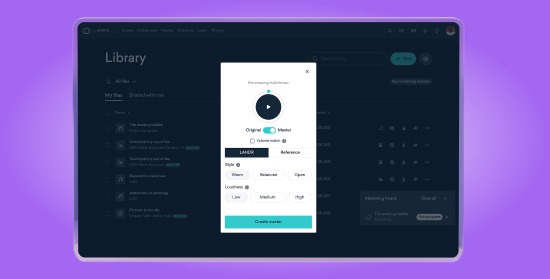
Our powerful, AI-driven mastering engine listens to your song and delivers pristine, studio-quality music that’s ready for release. Master a track.
What is pre-mastering? What is a pre-master?
Pre-mastering refers to any steps you take at the end of your mix process to prepare your audio for mastering. A pre-master is a high quality finished file that’s ready to be delivered for mastering.
Pre-masters are often submitted to labels for final approval when the artist isn’t responsible for mastering the project or working directly with a mastering engineer.
In addition to that, releasing modern music on vinyl requires its own approach to the mastering process. Some producers of vinyl records require a specific vinyl pre-master to ensure the cutting lathe delivers the right results.
Pre-mastering refers to any steps you take at the end of your mix process to prepare your audio for mastering.
Although some pre-mastering needs will differ by project, there are a few general tips you can use during your mix to make the process smoother and more successful.
Here’s the easy five step guide to a perfect pre-master:
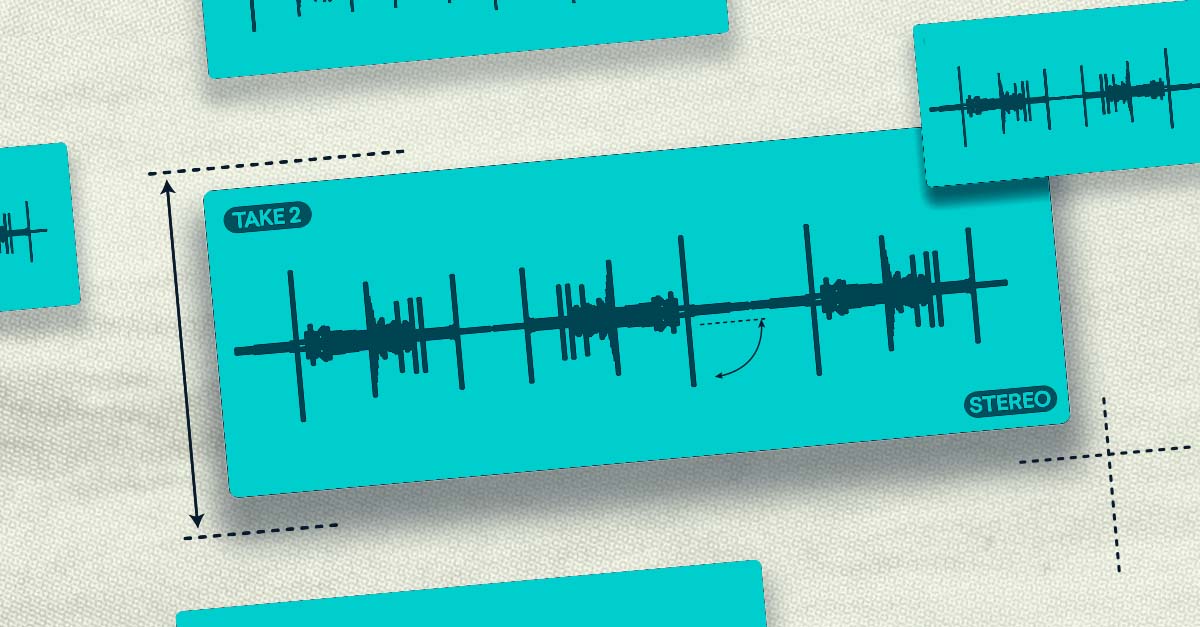
1. Reference your mix
When is a mix really finished? It’s a big question that’s not always easy to answer.
Modern DAW workflows make it possible to continue refining your project forever—that’s why it’s so important to have perspective.
Luckily, mix referencing is one of the best ways to get it. It means comparing your mix critically against other audio material.
You can use your favorite songs, other mixes you’ve done or previous versions of the song you’re working on.
Making a note of the differences and adjusting each time will help you make sure that you’re moving forward, not sideways or backwards!
When you know you’ve reached your goal with your mix you can continue to the next steps with confidence.
2. Leave headroom
The mastering process needs some room left in your audio file to work properly.
That means a good pre-master always has adequate headroom.
Headroom can be more complicated than it seems, so head over to our in-depth guide to brush up.
But if you just need a refresher, the basics are simple enough.
The mastering process needs some headroom left in your audio file to work properly.
The trick to good headroom is gain staging. It means keeping an eye on your levels throughout your production process so that the signals don’t pile up at the master bus and cause clipping.
To do it you should aim to leave plenty of room as you record and mix your tracks. I recommend you aim for the peaks of waveforms hitting around -9 dBFS with the body of the sound hovering around -18 dBFS.
Keep that in mind as you go and you won’t be far off when it comes time to export your track.
2. Address your master bus
The effects and processing you use on your master bus matters a lot for pre-mastering.
Since anything you use on the master bus affects the whole mix, it’s easy to make sweeping changes to the sound.
In fact, this is one reason master bus processing can be controversial among mix engineers. Some swear by it, while others insist it only causes harm.
It’s completely up to you whether or not to use it in your workflow, but here’s my best advice: avoid any master bus processing that has a big effect on the headroom and dynamic range of the bounced file.
I’m talking mostly about limiting here, but heavy compression counts too.
Feel free to get creative with EQ, saturation or other processes that affect the tonal balance and character of the mix. Even light compression that enhances the feel or punch of the track is fine.
Just leave the main dynamic range reduction to the mastering process!
3. Check your edits
Speaking of dynamic range, one of the biggest effects of the mastering process is to make your song loud enough to stack up against pro tracks on streaming services.
When you start to raise the levels that much, all the small details come out of the woodwork.
I’m talking about distracting artifacts like clicks, pops, poor edits or even vocal mouth noise.
If you don’t catch these in the pre-master they may cause problems in your finished product.
Make sure you take the time to put your audio editing under the microscope and confirm your work is clean.
4. Bounce a high quality file
Audio file quality makes a difference in pre-mastering.
In fact, the sample rate and bit depth you choose determine whether your track can be used for high resolution lossless streaming.
But in general, high resolution files help increase sound quality across your project, so make sure to use them from the start!
Usually you’ll see these options when you open a new DAW session and export your finished track.
My recommendation here is pretty straightforward—choose a high quality file type and only export your mix in the same format.
What type exactly? The higher the better, within reason. For most producers. 24 bit, 48 kHz audio is a good balance between audio quality and file size.
For most producers. 24 bit, 48 kHz audio is a good balance between audio quality and file size.
But if you find a higher sample rate sounds better to you, go for it!
5. Take a deep breath
If you’ve made it this far—congratulations. It takes a big effort to take a song from idea to finished product.
When you’re ready to submit your track to mastering you should feel proud of your work.
But mastering isn’t exactly the end of the line.
Depending on the results you get back, you may have to make mastering revisions to get to your ideal vision.
You may even have to provide a reference master as a guide for the mastering process.
And then once mastering is complete, there are other essential steps in the lifecycle of a song.
Our powerful, AI-driven mastering engine listens to your song and delivers pristine, studio-quality music that’s ready for release. Master a track.
I’m talking about getting your music on streaming platforms and promoting it to reach an audience.
With all the hard work you’ve put in to get to the mastering stage, nurturing your tracks once they’re up and out should be your next priority!
The pre-master cycle
Preparing your tracks for mastering is the sonic housekeeping at the end of your mix process.
But it’s an important job to do if you want to get the best results in mastering and beyond.
Now that you have an idea of the basic ideas behind pre-mastering, get back to your DAW and keep creating.

Michael Hahn is an engineer and producer at Autoland and member of the swirling indie rock trio Slight.
@Michael HahnGear guides, tips, tutorials, inspiration and more—delivered weekly.
Keep up with the LANDR Blog.